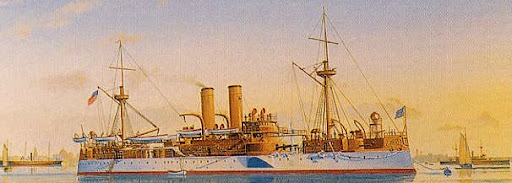
Deck and Hull Painting
Once the hull was firmly mounted to the slipway, I sprayed the deck with an acrylic paint available from Walmart. It was "Plaid" brand and was #953 Camel. Any "deck looking" color will suffice because there's a lot more that's going to be done to the deck before finishing. It's best to think of the color as a base coat.

Once the deck is painted, the real tedium begins. I lay a strip of masking tape down on a sheet of 1/4 glass that I use as a cutting base. I then cut off a thin strip from both sides with a single edge razor blade held against a ruler to ensure a straight line. I also cut the ends square. I then cut a long single strip from the tape that's as thin as I can get it and still get a good gluing surface on the underside. (The pics illustrate the width)

Using a pair of sharp tweezers and an exacto knife I begin to cover all the edges of the deck. I will try to do all the edges parallel to the keel of the ship.

Covering the entire deck can take more than a week. I also try to work in short sessions so that I don't get frustrated and hurl the damn thing into the wall (haha). I find that using an optivisor for this work invaluable. It may seem like an expensive luxury but in order to do fine detail work at this small scale it is a must.

Apply liquid mask to all the open areas and cover up to the tape edges. This allows you to get crisp edges and still cover the whole deck in a timely manner.

Once the liquid mask has dried for 24 hours, I sprayed the hull white. Again this was done using a generic acrylic color obtained from the Walmart crafts section. Don't forget to apply the photoetch to the hull sides. I had to keep making a mental note of this to make sure I didn't forget.

The next step is to start masking the trim line between the superstructure and hull side in order to paint the superstructure a "buff" color.

No comments:
Post a Comment