A little Test Fit
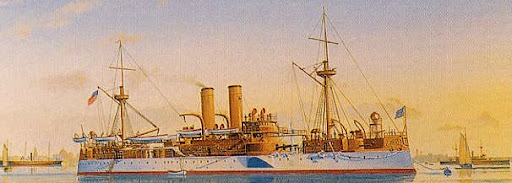
So while I've been busy doing Spring projects around the house, I've managed to slip in a little bit of work on the Maine. I've fitted most of the fresh air hoods to the centerline. I also completed the lower bridge deck. This meant using the photo-etch to build the octopus like 6 pounder guns. These things are tiny and have numerous legs that need to be bent in order for the weapon to sit straight. I also had to add the upper bridge supports from the PE sheet. I trimmed these so that the upper bridge deck sat flat. I was originally going to use the resin deck but the PE is just too nice to omit.
 I also added the aft flying boat deck. Since the model is made to the "as planned" version of the Maine, two torpedo boats are supposed to occupy these positions. To my knowledge, Maine never actually carried these boats. It's possible that the supports were modified to some extent in order to carry the smaller boats. I elected not to alter the PE so that meant I needed to find some boats that were big enough to fill the position. These ones came from a 1/700 USS Enterprise CV-6 kit. Maine probably never carried such large boats, but they fit the bill nicely anyway. Besides, if I hadn't just told you that, you'd never have known!
 Overall, she's still looking a little barren but starting to shape up nicely. I will have to add the bridge wing supports next and then the boat decks over the superstructure. That will be a challenge since the PE supports are actually a little oversized to fit the area over the 6" guns on the superstructure.


